Discovering a leaky valve stem in your home can be frustrating, but fixing it doesn’t have to be daunting. With the right tools and knowledge, you can quickly fix for leaking valve stem yourself and save time and money.
This article will provide an easy step-by-step guide on how to repair a leaky valve stem. Let’s get started.
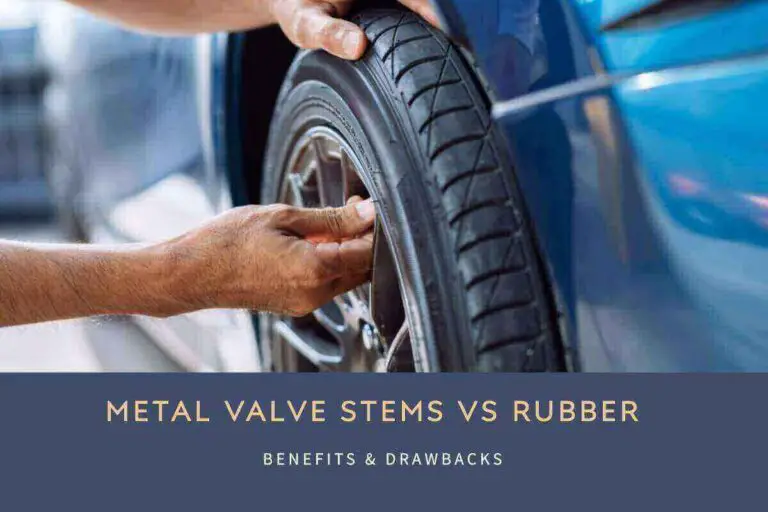
How To Fix A Leaky Valve Stem
Having a leaky valve stem can be one of the most frustrating plumbing problems. It is not only irritating to hear the constant dripping, but it can also lead to an expensive water bill.
Luckily, fixing a leaky valve stem does not require a professional plumber and can be done in no time by following these simple steps. We will walk you through how to fix a leaky valve stem and provide helpful tips for preventing future leaks.
A leaking valve stem can cause severe damage to your car and its tires if left unattended. It’s essential to know how you can fix the quickly leaky valve stem to keep your vehicle running properly and safely. Repairing a leaking valve stem requires basic mechanical aptitude and knowledge, but it’s doable with the right tools.
With the help of this guide, learn how to fix a leaky valve stem in five simple steps effectively. Not only will you save time and money by avoiding costly repairs or replacements, but you’ll also have peace of mind knowing that your vehicle is running safely on the road again. So, gather all the necessary materials, familiarize yourself with our instructions below, and get ready to say goodbye to tubeless valve stem leaking.
Step 1: Identify the Leak
If you have a leaky valve stem in your car, it can be an annoying and potentially dangerous problem. Identifying where the leak is coming from should be your first step before attempting to fix the problem. We will provide an easy-to-follow guide on how to identify the source of a leaky valve stem in your vehicle.
The valve stem is responsible for maintaining tire pressure within a safe range while driving. A common cause of a leaking valve stem is wear and tear over time or when the rubber gasket wears out or breaks down. If you see wet patches on your wheel rims, this could indicate a leak in one of the valve stems.
Step 2: Gather Tools and Materials
Once the source of the leak has been identified, it’s time to gather the tools and materials needed for fixing a leaky valve stem. Before heading to a local automotive store for supplies, it is important to research which type of valve stem or sealant will best suit your vehicle’s needs.
Most cars require standard rubber gaskets that are easy to find in auto parts stores or online. Other vehicles might require specific gaskets or valves made from metal or plastic. In addition to new parts, a few other tools and materials are required to complete this repair job, such as a lug wrench, pliers, wire brush, and sealant.
Step 3: Remove Old Valve Stem
Replacing an old, leaky valve stem is necessary to fix a leaky tire. This simple procedure can save drivers money and time by avoiding costly repairs down the road. The third step to replacing a leaky valve stem is to remove the old one.
To begin, use a pair of pliers or an adjustable wrench to loosen and unscrew the metal nut that holds the old valve stem in place. Once it is loose, gently pull out the old valve stem from its hole in the rim of your wheel. Be careful not to damage any other parts on your wheel as you pull out the old part.
For extra precaution, cover up any exposed wires or bolts with tape before removing any parts from your wheel. After successfully removing the old valve stem, discard it into a trash can or recycle bin for proper disposal.
Step 4: Install New Valve Stem
The fourth step in fixing a leaky car valve stem is to replace it with a new one. If air leaking from the valve stem base or the valve stem leaks at the rim, it will need to be replaced in order to prevent further leaking. Installing a new valve stem can be done easily and quickly by following these simple steps.
First, you will need to remove the wheel of your car and then take off the tire so that you can access the valve stem. Once you have done this, use pliers or an adjustable wrench to loosen the nut on top of the stem and unscrew it. Carefully pull out the old stem before inserting the new valve stem into place. Make sure that you insert it firmly so that there are no gaps in between where air may escape.
Step 5: Add Lubricant and Test New Valve Stem
The fifth step in the series of fixing a leaky valve stem. The final step is to add lubricant and test the new valve stem. Properly lubricating all new parts will help ensure that they run smoothly and last longer. This step is important because, without it, the operation of the vehicle could be compromised.
The most common type of lubricant used for this job is silicone-based grease, which should be applied around both ends of the new valve stem where it meets other components in order to prevent any corrosion or abrasion over time. It’s important to note that this grease can be easily washed away with water, so keep it away from any direct contact with water when applying it.
Bad Tire Valve Stem Symptoms
The air leaking around the valve stem tubeless can be a serious problem for the tires on your car. If the air pressure in your tires is not maintained properly, it will cause premature wear and tear on the treads of your tires, reducing their lifespan. Here are some common symptoms to look out for if you suspect that you have a faulty tire valve stem.
One symptom of a bad tire valve stem is the low air pressure in one or more of your tires. It will cause noticeable differences in ride height and an uneven driving experience due to the load distribution being off balance. Uneven tire wear may also result from this issue and should not be ignored.
Another indication that there might be a problem with the valve stems is if they produce strange noises when using an air compressor or when taking them off and replacing them with the wheel rim.
Temporary Fix For Leaking Valve Stem
If you have a leaking valve stem, don’t worry – there’s a temporary fix that doesn’t require replacing the entire part. It is especially useful for those who need more time or money to invest in a full replacement.
The steps below will show you how to quickly and easily patch up a leaky valve stem from the comfort of your own home.
- You’ll need some rubber cement and some sheet metal screws, which you can find at any hardware store.
- Start by taking off the wheel cover where the valve stem is located.
- Then remove the tire so that you can gain access to it.
- Once exposed, use an old rag or cloth to clean off any dirt or grime around the leaking area before applying rubber cement.
- Once the rubber cement has dried, use a sharp knife and cut a small slit into the rubber around the valve stem.
- The slit should be long enough to let you put in the screw so that it will hold the rubber and valve stem together.
Preventions When Fix A Leaky Valve Stem
When it comes to how to fix a leaky valve stem, proper prevention is key. The steps taken before attempting to fix the problem can be just as important as the repair.
Before even beginning the repair job, a few things should be done first to ensure a successful outcome.
- The most important precaution is making sure that turned off your car before touching it.
- It will help avoid any possible shocks or accidents while working on it.
- Wearing protective gloves and eyewear is also essential for safety reasons.
- It is also advised to wear clothes that you don’t mind getting dirty in since some of the work may require crawling into tight spaces.
- Make sure the tire is completely deflated of all air before beginning work.
- It will maximize your ability to reach into the tire and identify what needs repair without damaging anything else inside the tire itself.
- Make sure that you have access to all the necessary tools for repairing your valve stems, like an adjustable wrench and pliers.
Conclusion – Fixed Leaky Valve Stem
The conclusion is that the process is relatively simple and inexpensive. With the right tools and materials, anyone can tackle this task, ensuring their valve stem remains leak free for years to come.
Even if you’re planning on replacing the valve stem entirely, it’s still important to have a wrench or pliers handy so that you can take off the old stem and put on the new one. If you need access to the necessary tools or are unsure how well you can do the repairs, it is best to take your car to a professional mechanic for assistance. You should also ensure that you are in a safe location with no traffic or passersby.
FAQs
How Do You Fix A Leaking Valve Stem Seal?
To fix a leaking valve stem seal is to identify the cause of the leak. You’ll need to replace the seal if it’s due to wear. You can clean out the area and re-install the seal if it’s due to debris or dirt. To do this, you must remove the valve cover, inspect the area, then use a valve spring compressor to remove and replace the seal.
What Causes A Valve Stem To Leak?
A valve stem leak is usually caused by a worn-out seal or O-ring, which can be replaced relatively easily. It’s also possible for the stem to be damaged, which would need to be replaced. In either case, it’s important to address the issue quickly to prevent further damage and costly repairs.
How To Fix A Tire Valve Stem Leak?
Fixing a tire valve stem leak is relatively easy. Use a valve core removal tool to unscrew the faulty valve stem from the tire. Then, replace it with a new one and screw it back in. Re-inflate your tire to the correct pressure, and you’re done!
How To Fix Leaking Valve Stem Base?
It would help if you replaced the rubber seal to fix a leaking valve stem base. Remove the valve cap and deflate the tire. Then, use a flathead screwdriver to pry the old seal from its groove. Insert a new seal into the groove and press it down firmly with your thumb. That should do the trick!
Can You Replace A Valve Stem Without Removing The Tire?
Yes, replacing a valve stem without removing the tire is possible. All you need is a valve stem tool, which can be purchased at any auto parts store. Once you have the tool, unscrew the old one and screw in the new one. Make sure you use a bit of lubricant on the threads to make it easier to remove and install.
Can You Seal A Leaking Valve?
Yes, you can seal a leaking valve. The best way to do this is to use a high-grade sealant or epoxy to fill any gaps or cracks in the valve and then use a wrench to tighten the valve. It should provide a strong seal that will stop the leak.
Can You Replace Valve Stem Seals Without Removing Head?
Yes, replacing valve stem seals without removing the head is possible. It can be done by removing the rocker cover and using a special tool to compress the valve spring. After that, you can easily remove and replace the seals. It’s an involved process but manageable if you have the right tools and knowledge.
What Happens When Valve Stem Seals Leak?
When valve stem seals leak, it can cause oil to enter the combustion chamber and decrease engine performance. It can result in increased oil consumption, smoke from the exhaust, and misfiring. It is important to have your vehicle checked by a qualified mechanic if you suspect a leaking valve stem seal.